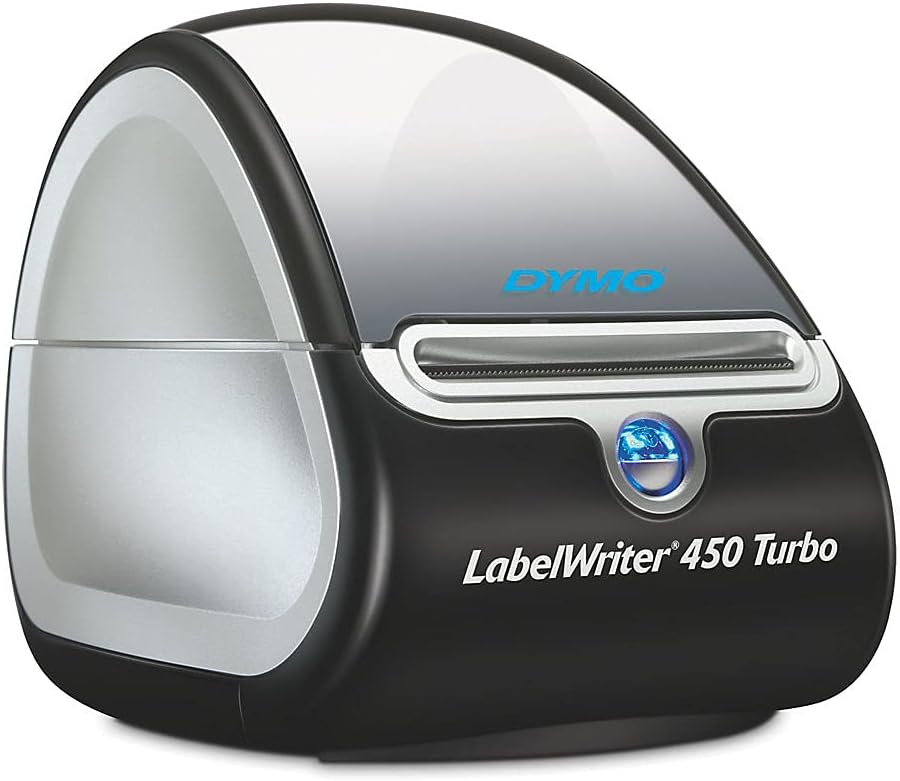
When I need to do shipping labels, I have an old Dymo Labelwriter. While it likely takes more time
to set up and connect the printer than writing a label by hand, I still prefer using the printer
over doing it manually.
For a long time, I've used the Windows software. The software only runs on my laptop, since that
machine is the only machine regularly running Windows in my setup. I've always wanted to use the
printer under Debian as well, and just recently, I found that the printer support is quite excellent.
The only command to run is:
apt install printer-driver-dymo
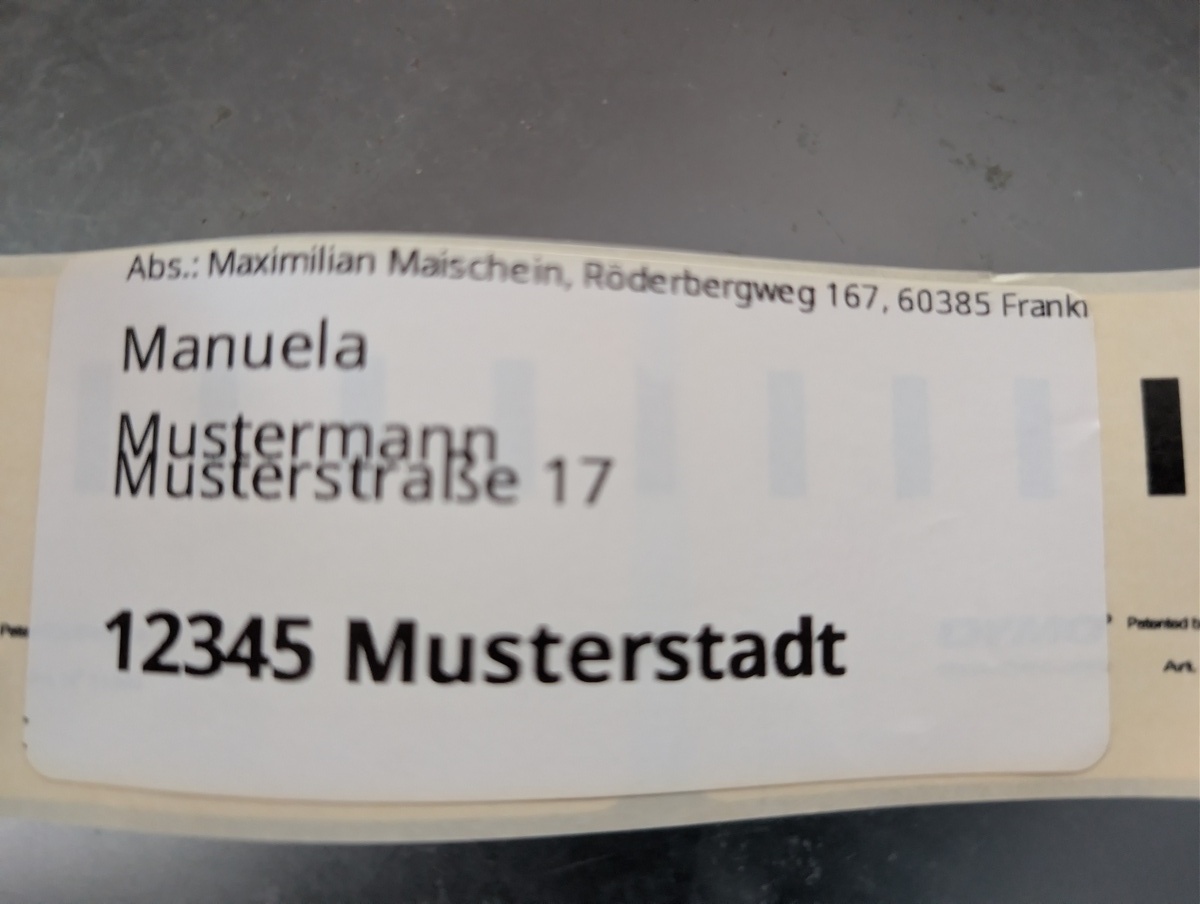
The printer is connected via USB and recognized without further setup. Just for my note, it
uses the Dymo 11356 labels.
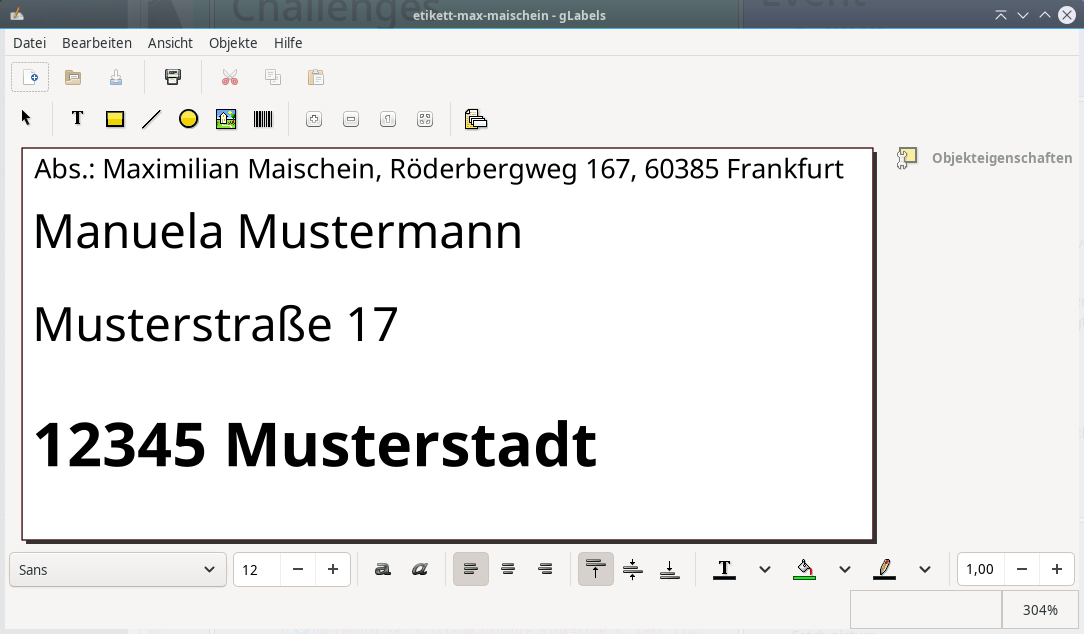
The gLabels label printing software isn't great, but the Dymo Label designer isn't great either.
gLabels also comes with the label measurements already set up, I just had to find Dymo and deselect the A4 paper
size.
Both programs, gLabels and the Dymo Label designer work well enough for the one or two times a year when
I need to label a package or a larger letter.
Debian only has the "legacy" v3 version of gLabels, but that works well enough. I could even hook that software
to a database to do large(r) scale label printing, but I'm not currently in a situation of doing much
shipping.
A New Toy
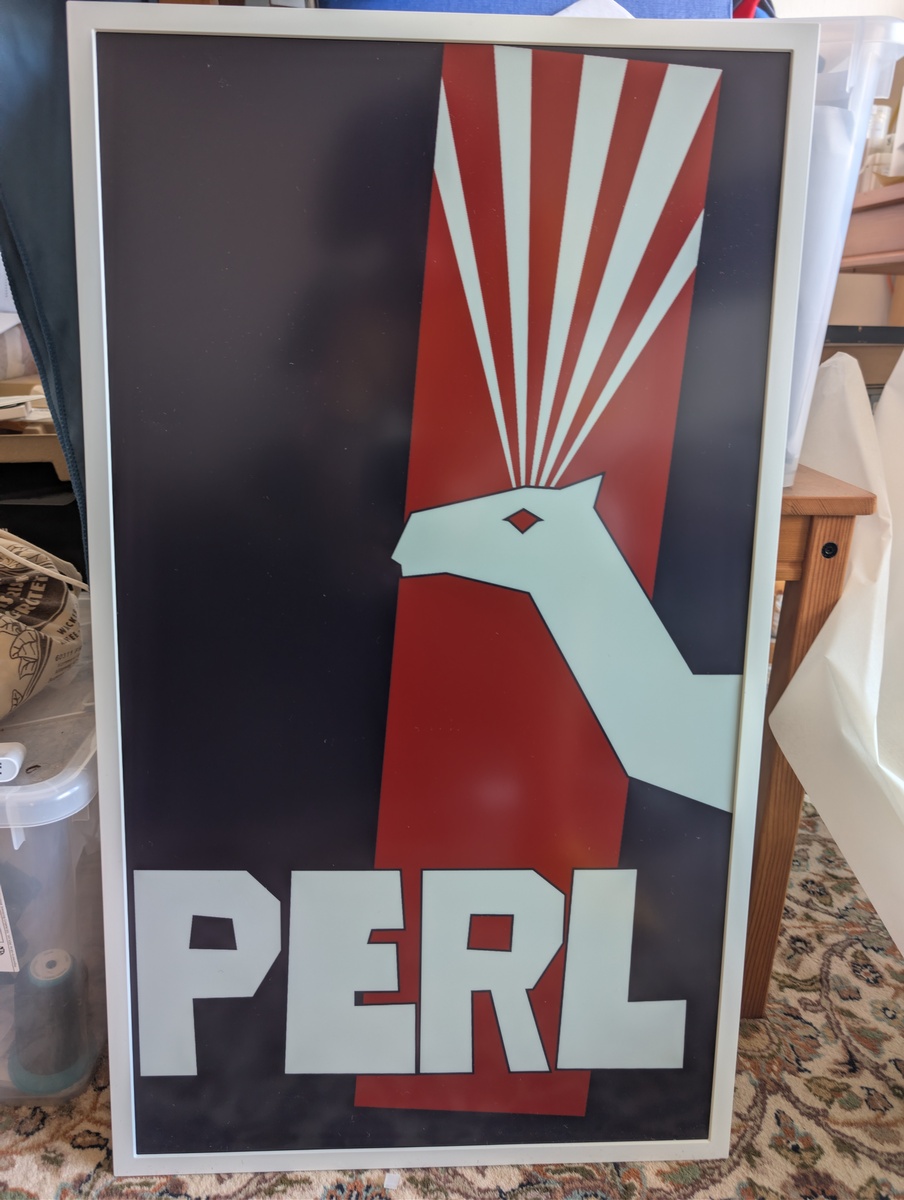
After surprisingly doing my taxes, I spent the money I might get back on a new
toy, a Samsung E-Paper EM32DX. It is an eInk display with an electrophoric
Spectra 6 display. These displays work without backlighting and can look like
a picture or photo frame. I've toyed around with using an LCD display, but
they don't match the room brightness. Having a large (32", 50cmx70cm ) frame
with a resolution of 2560x1440 pixels is good enough to view
from 1m-2m distance.
The device can work with a battery, so that I can hang it on a wall without
needing to run cables for the power supply.
I plan to use the display mostly as a picture frame to display a random photo
I've taken. Ideally, I can integrate the display into my home network, so that
I can quickly send any image from my desktop PC to the frame.
Power consumption of the frame is an issue. It has Bluetooth LE and Wifi
connectivity, but keeping it connected to the WLAN depletes the battery within
2 days. Depending on how far I get with reverse engineering the software, maybe
I can wake up the display via Bluetooth or have it wake up and connect on a
schedule.
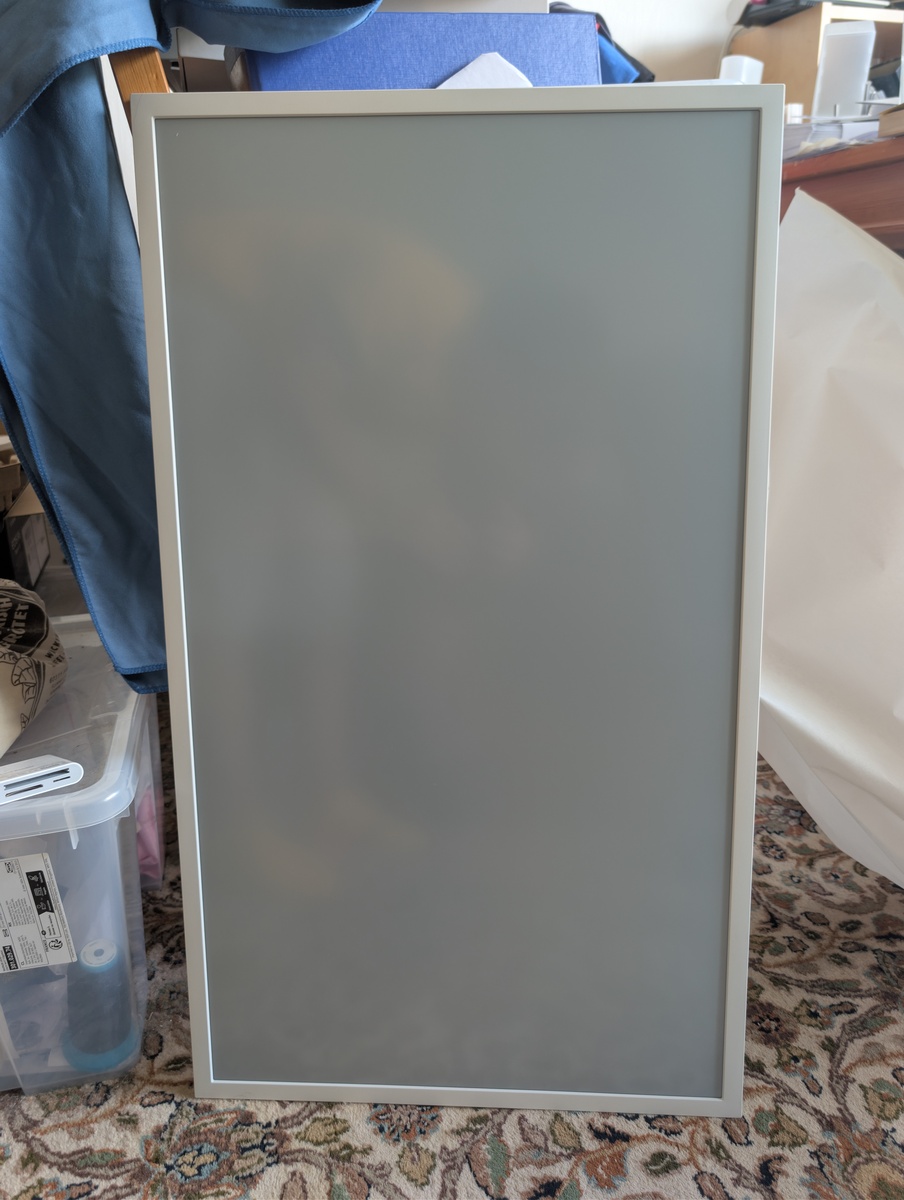
The display from Samsungs digital signage division is intended as in-store
display for commercial use, but is feels somewhat flimsy with its all-plastic
design. On the other hand, it only weighs 2.5kg, which makes hanging it
fairly easy.
The device runs some version of Samsungs Tizen OS with a special player for
displaying images on the frame. The software to upload new images is either a
mobile app or Samsungs VXT signage solution, but some people already
have reverse engineered parts of the API. I don't plan on replacing the
built-in Tizen player application with something else.
The Plan
My plan for the next weeks is:
- Investigate the software of the device
- Investigate and exercise the functionality of the device without the app
- Investigate and exercise the functionality of the device with the app
- Set up a segregated IoT network
- Reverse engineer the device + API
- Wakeup via Bluetooth
- Provisioning of WLAN connectivity
- Automated display of new images
before initial setup
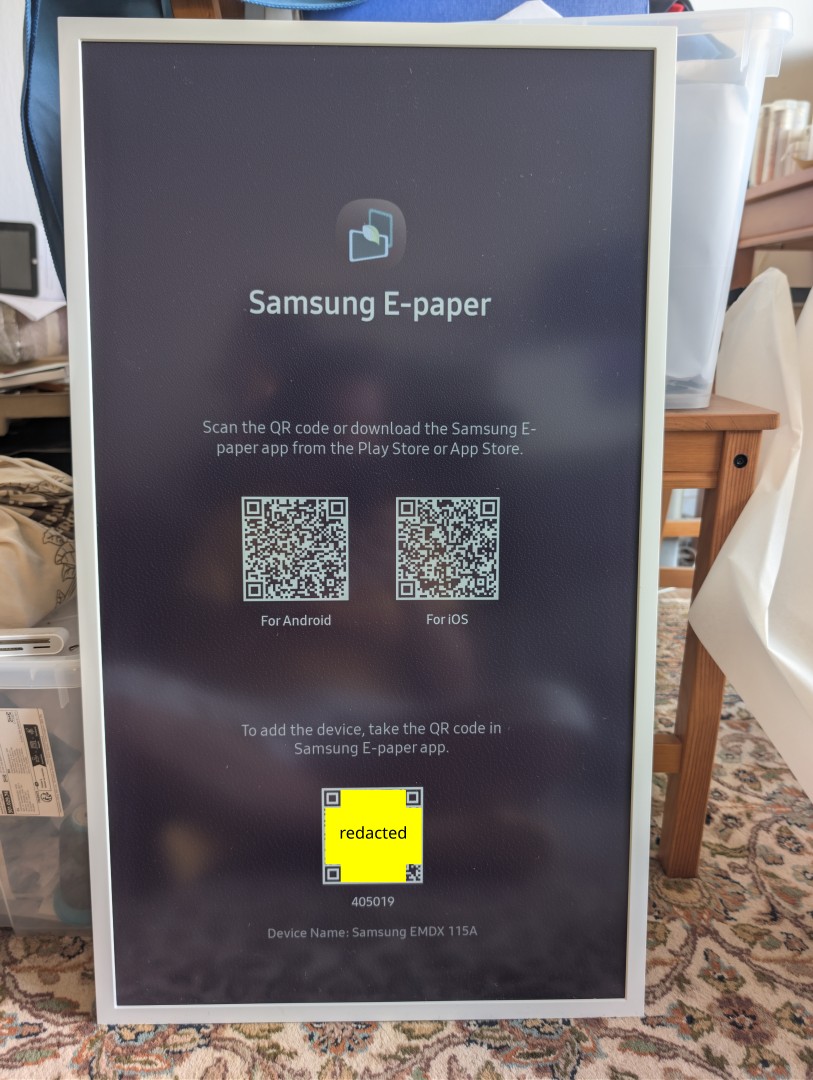
Connection information via QR code
When powered on or reset, the device displays a QR code with the BT connection
information. This makes it convenient for the phone app and also allows
me to get the BT MAC for the device:
EPD_PARRING_DATA?pincode=215815?devicemac=xx:xx:xx:xx:xx:xx?devicename=Samsung EMDX 115A
Yes, EPD_PARRING_DATA , I'm not sure if this typo is deliberate
BT LE scan
A quick scan using btmgmt lets me see the device, after pressing the magic
Bluetooth button on the device:
# hcitool lescan
xx:xx:xx:xx:xx:xx Samsung EMDX 115A

# btmgmt
pair xx:xx:xx:xx:xx:xx
After several attempts from my desktop the device paired. This mirrors the
experience with my phone, where I also needed several attempts before the
device would successfully pair.
First functionality check with USB stick
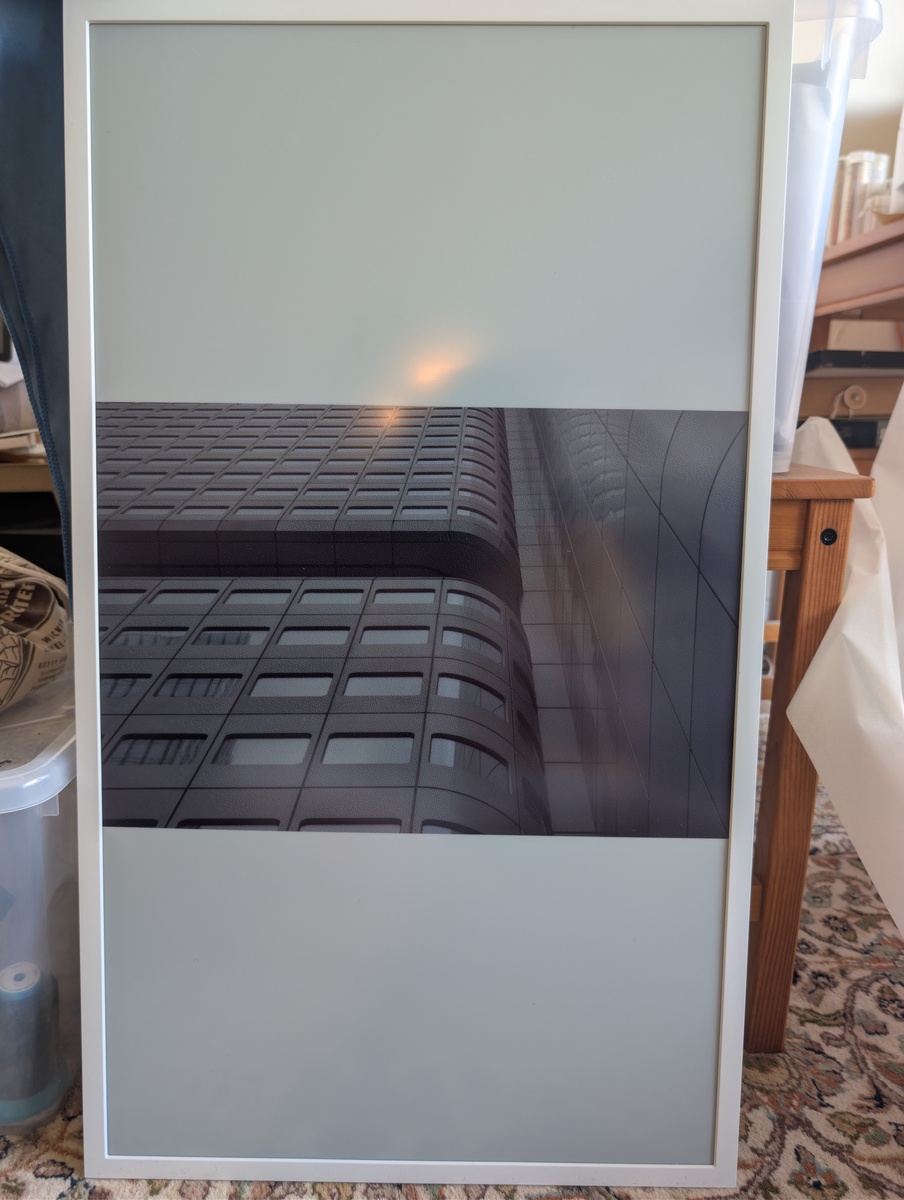
The display can show images from an USB stick, so that's what I used to show
the first set of images. The device dithers the image colours where they differ
from the 6 primary colours. This is fairly slow, with the transistion to a new
image starting roughly 20s after starting, and the display transition taking
another 30s of flashing.
Setup
Weirdly enough, the EM32DX does not seem to have a large-scale provisioning
mode mentioned in the manuals. All the instructions I've found rely on scanning
the QR code on the device with the Samsung E-Paper App.
After some searching, I found a PWA at
Samsung EDO, which generates preset
configurations for various EMDX devices. This also showed that if you put that
file into the preset/ folder below the SAMSUNG_E-Paper folder, the decice
will pick up the settings from that XML file and self-configure.
<?xml version="1.0" encoding="UTF-8"?>
<!-- Version: 1.0.6  Built with the Samsung ePaper USB Preset Tool (https://preset.samsungedo.com).
     Delete a whole <ConfigItem> block to skip an optional setting; never leave a value blank. -->
<ConfigurationPreset>
  <!-- Wi-Fi the device joins. EAP=false for a normal password (WPA2-PSK) network; the EAP field is required on FW 1120 even for PSK. -->
  <ConfigItem type="NetworkSetting" category="mandatory">
    <Parameter name="NetworkType" value="Wireless"/>
    <Parameter name="SSID" value="Name-of-SSID"/>
    <Parameter name="Password" value="password"/>
    <Parameter name="EAP" value="false"/>
    <Parameter name="ID" value=""/>
    <Parameter name="AnonymousID" value=""/>
    <Parameter name="EAPType" value="PEAP"/>
    <Parameter name="PHASE2Type" value="None"/>
    <Parameter name="CA_Cert" value=""/>
    <Parameter name="Client_Cert" value=""/>
    <Parameter name="DHCP" value="true"/>
  </ConfigItem>
First setup, with the app
Network uses WPA3+WPA2, which the device does speak, but the Samsung
App gets confused and cannot connect to the device via WLAN that way. Using
the mobile hotspot of my phone still allows me to connect the device to the
app and test out the functionality beyond the USB stick with the app.
Use through the app
The app can configure the device completely and also send new images from the
photo storage. Connectivity via WLAN is necessary for the data transport.
Basically, I think I can now send fresh image data to the device whenever
I feel like it.
Colour fidelity
The display has 6 primary colour pigments, red, green, blue, yellow, black
and white. Other colours are created on-device by dithering the image. The
colours don't really match up with my desktop monitor, they are somewhat darker
even accounting for the luminescence of the display. Especially green seems
far darker than its RGB counterpart.
Pigment colours, matched by eye:

Colour comparison with reference card:
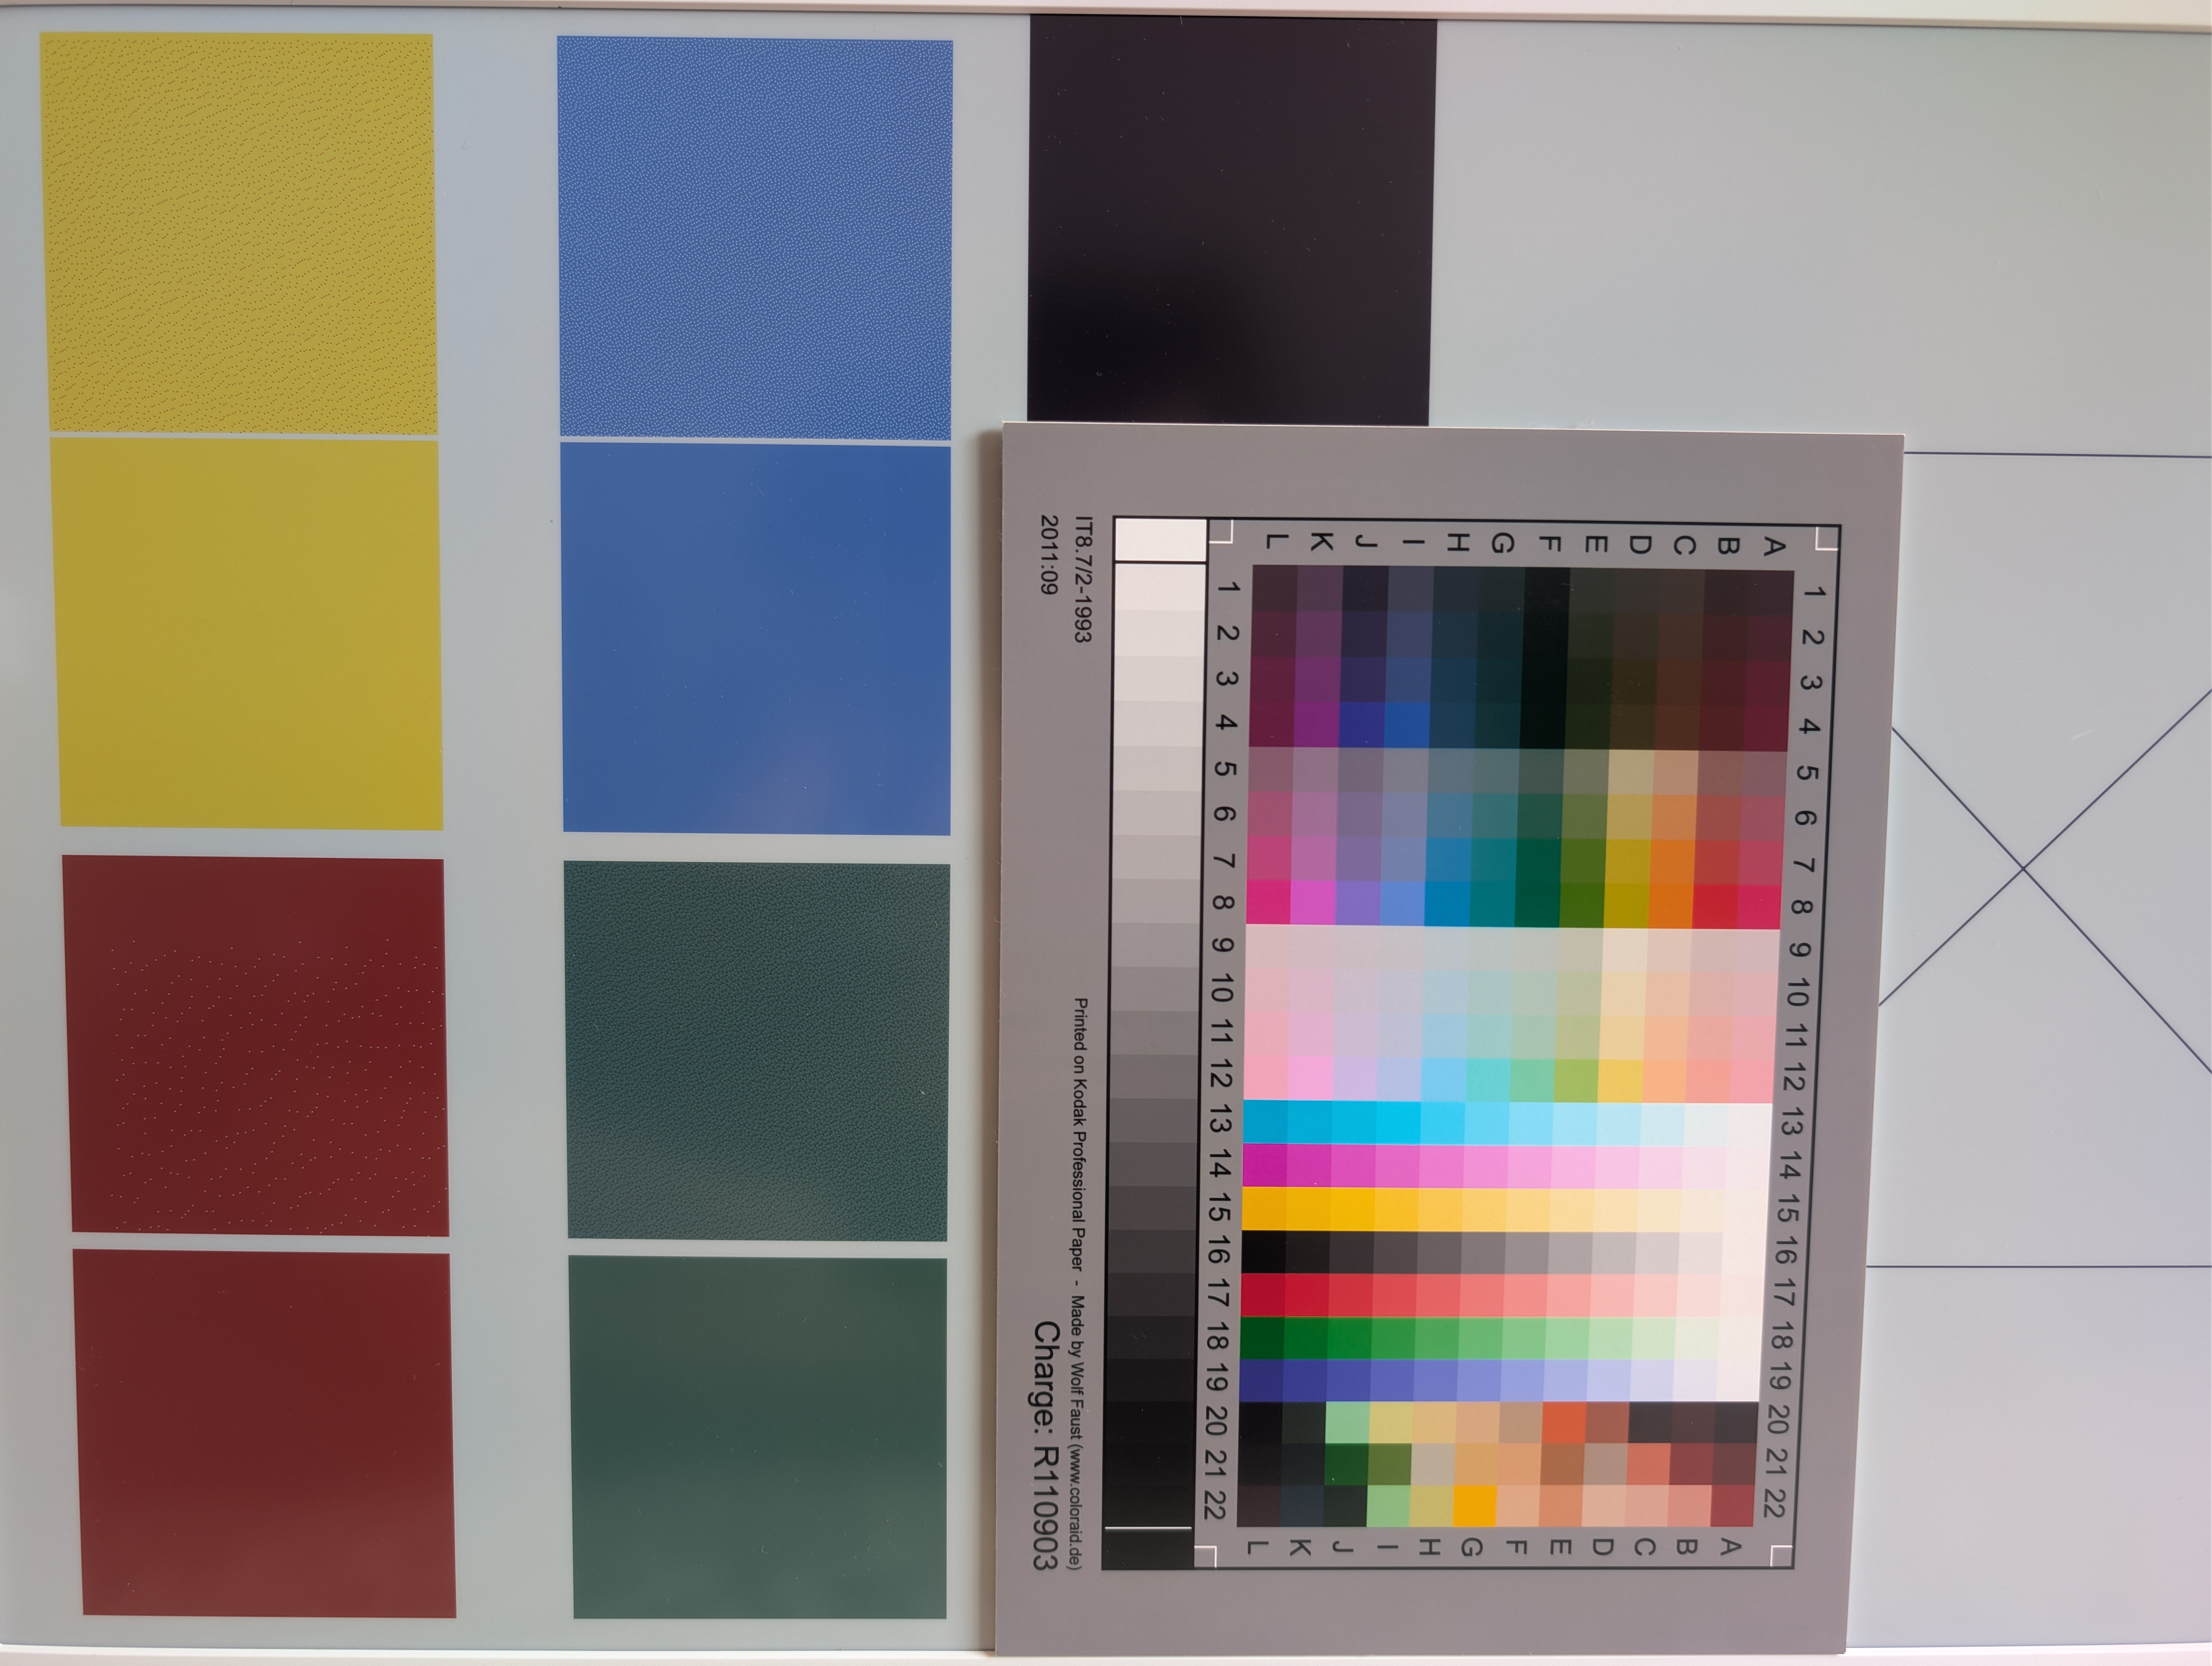
(image taken with Google Camera on Pixel 9 Pro XL under indirect daylight)
With some googling, I came up with two Imagemagick commands to first dither
an image to the colours of the pigments, and then to convert the pixels to
the RGB pixels that the on-device software expects.
Imagemagick command line to Colour-concert and pre-dither images:
# dither with eink colours
magick input.png -dither FloydSteinberg -remap 00-colour-mapping-visual.png "dithered.png"
# map to rgby pixels
magick "dithered.png" -remap 00-colour-mapping-rgb.png +dither final.png
Next Steps
- Maybe some yaml to create palette profiles, to make tweaking easier?! On the
other hand, simply using Imagemagick works well enough.
- Crack up BT setup. The configuration and setup via USB stick works well
enough, but I'd like to also set up the device using Bluetooth
programmatically.
- Set up segregated IoT WLAN to keep random devices off my main network. Just
so that the random devices don't get onto my main network.
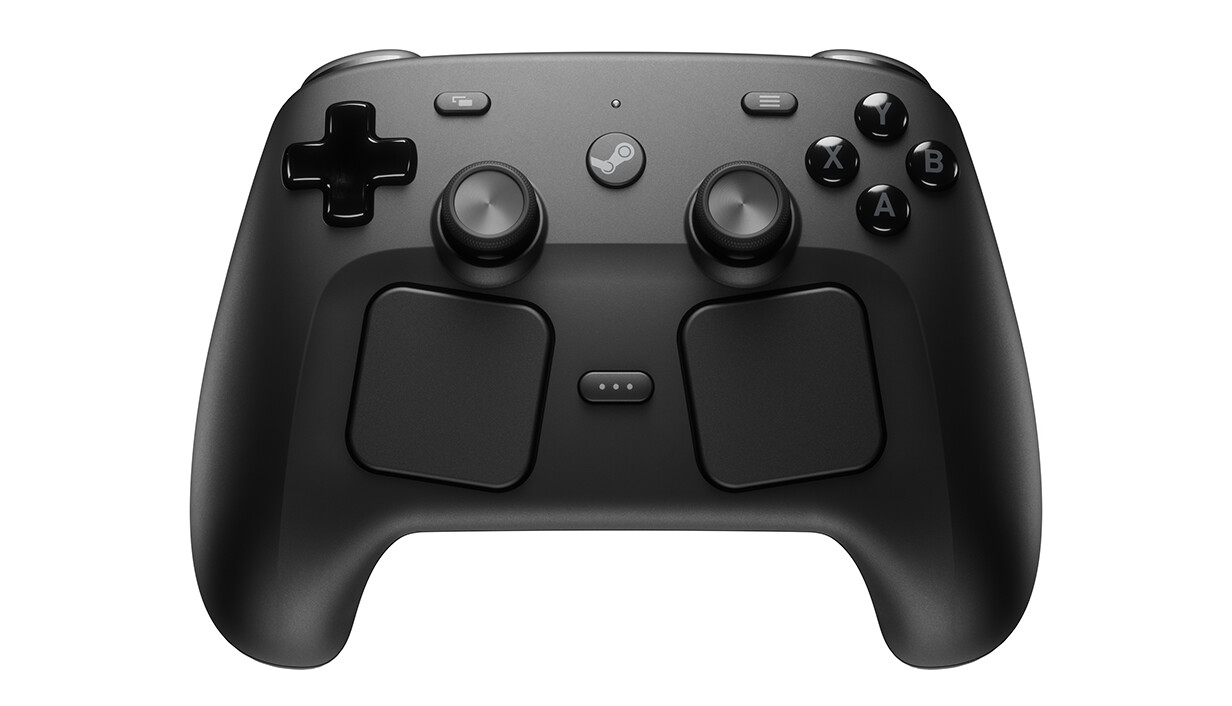
On May 4th, the new Valve Steam Controller became available.
Ordering was a bit harder than I thought, but it seems Valve was overwhelmed by the demand. In fact, it seems to have sold out the first batch within two hours.
The problems showed themselves to me as being unable to conclude the purchase, as the credit card verification never popped up.
After that initial hiccup, everything else went smoothly. The controller arrived two weeks later at my doorstep.
What's in the box?
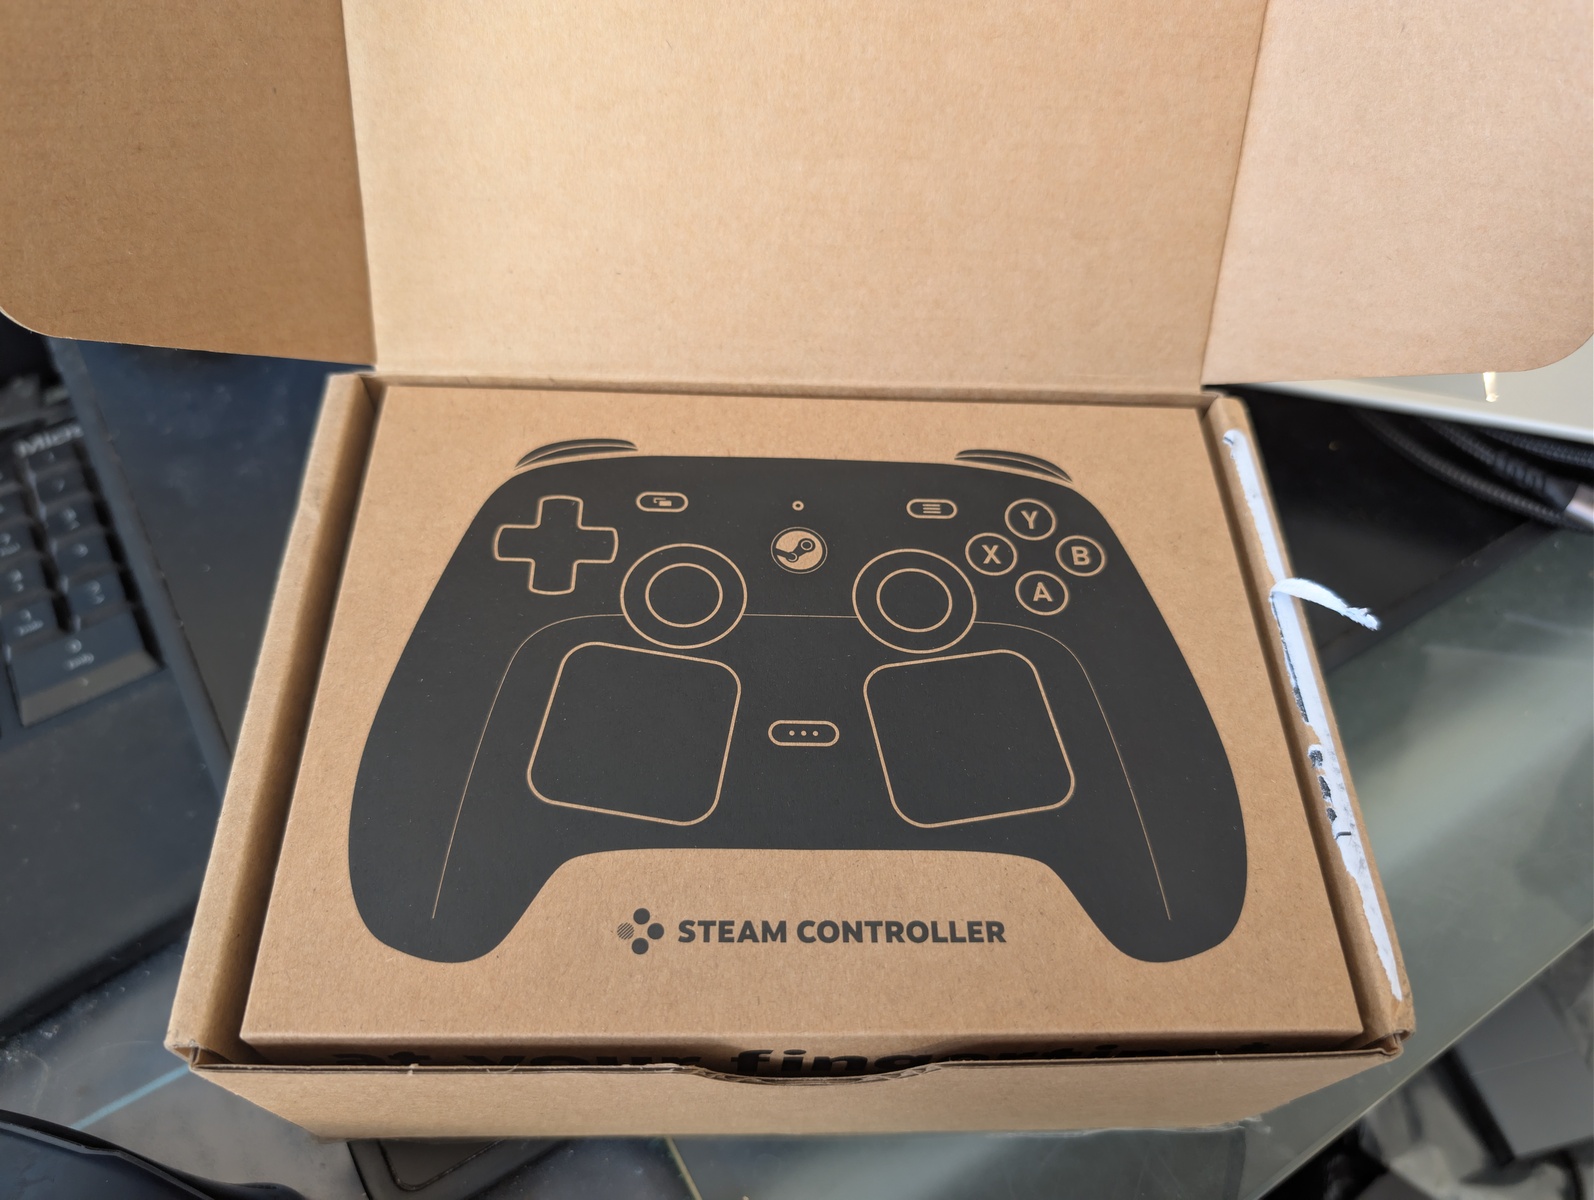
The box looks very good. I think Valve aims straight for a premium experience.
The cardboard box feels very sturdy and nice to open.
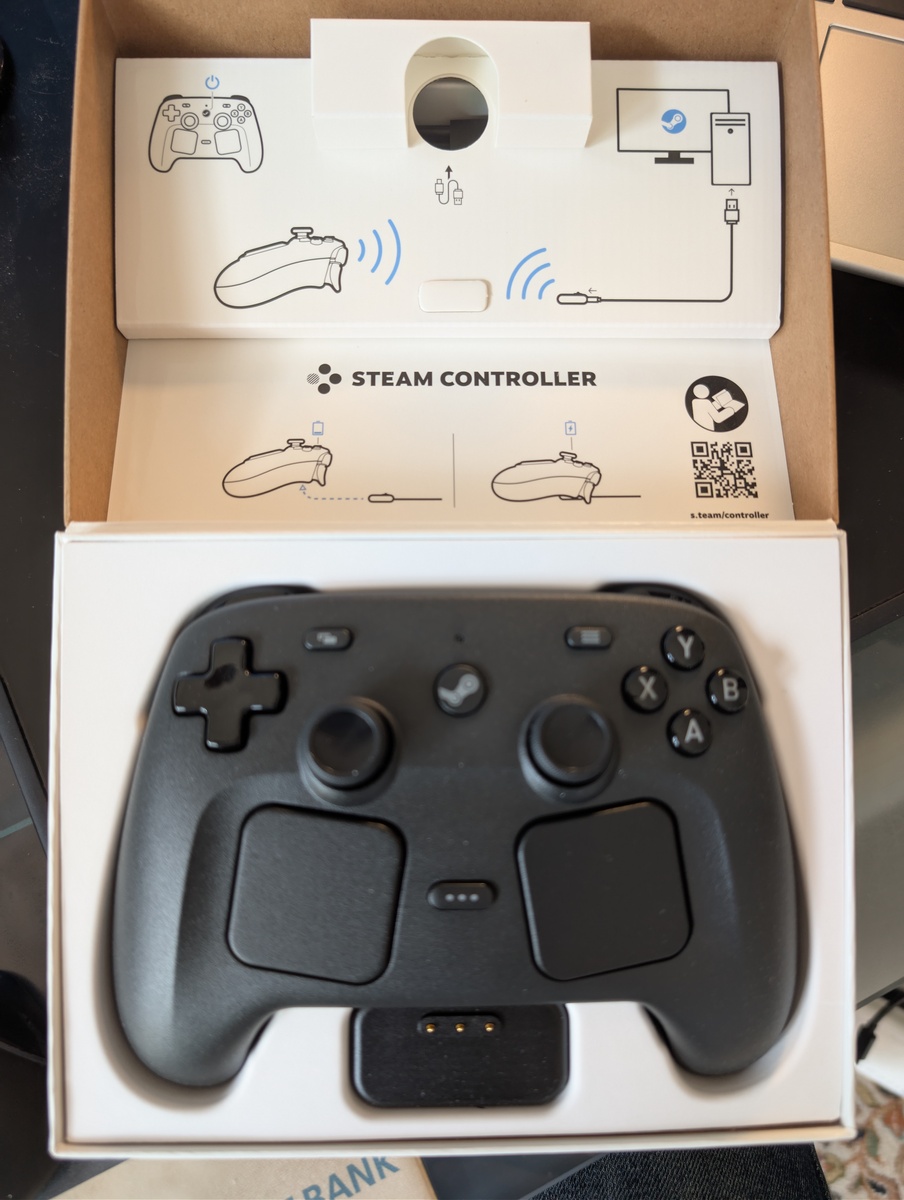
The box contains the controller, the puck and an USB-A to USB-C cable for
connecting the puck or the controller to a PC.
The puck is a magnetic loading adapter for the controller. I've grown quite
fond of such loading adapters even if they are again proprietary connectors
that might get lost.
When connecting the controller via the puck to a PC, both get immediately a
firmware upgrade via Steam. The process is
convenient enough and I also don't have the fear that Valve might lock me out
of features by upgrading the firmware.
Look and Feel
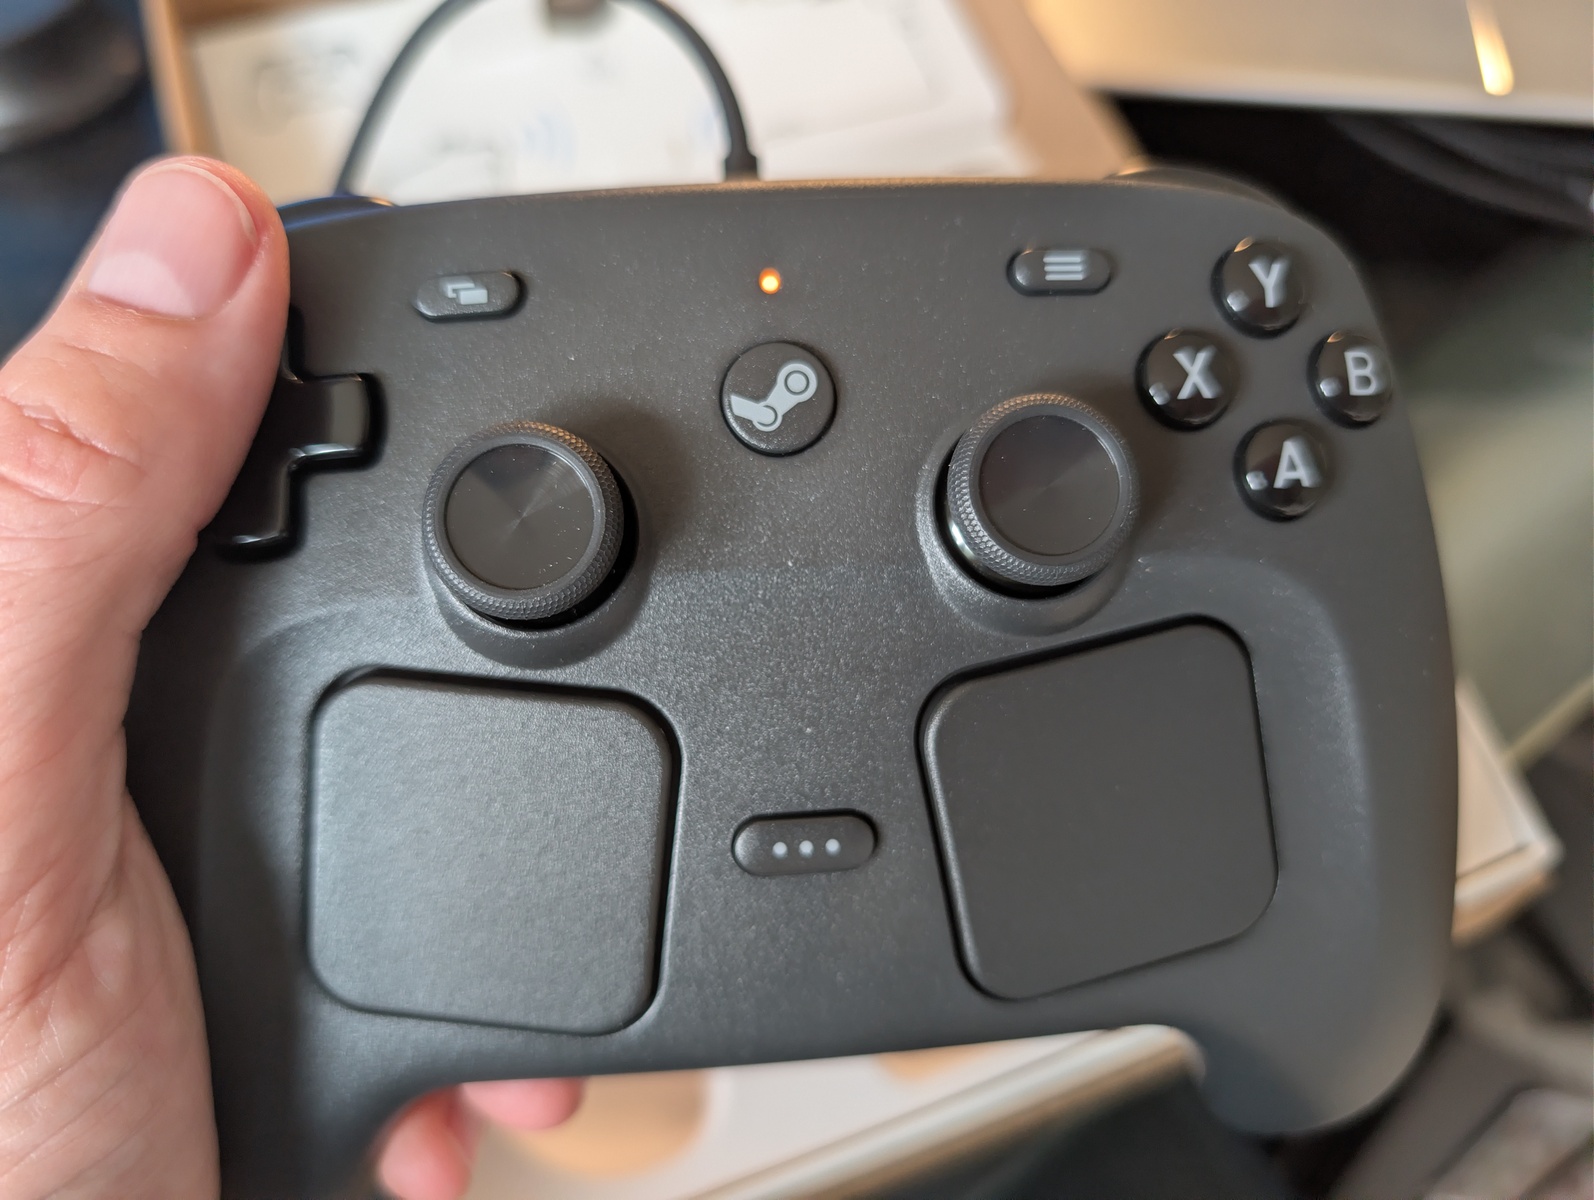
The controller feels very good in my hands. It is matte black, although time
will tell how much the coating degenerates when handled with sweaty hands.
Compatibility
When Steam is not present on a device, the controller presents itself as a
trackpad with scroll wheel. The right trackpad controls the mouse pointer while
the left trackpad acts as scroll wheel. The right triggers act as left/right
mouse button. The D-pad acts as cursor keys. This makes the controller not too
bad when operating a device that does not have immediate gamepad support.
The controller can connect via USB directly, via the puck (which, again,
connects via USB), or via Bluetooth. You can switch between the connection
modes when switching the controller on by holding R1-A (for puck mode)
or R1-B for Bluetooth mode.
Pixel 9 / GrapheneOS
The Steam Controller connects easily via Bluetooth and shows up as a mouse
(touchpad) + gamepad. The right touchpad controls the Android mouse pointer
in a good way. The haptic feedback the trackpads give when moving the mouse
pointer is not annoying.
Linux PC / Steam
The Steam Controller connects via the puck, which connects via the USB cable.
It is immediately recognized by Steam and just works. The middle button
("Steam button") launches Steam in Big Picture mode, turning the experience
into a console-like experience.
Linux PC / Tablet
The tablet has no Steam client installed, but the controller "works" there
through the puck without needing any fiddling or installing. It is only
recognized as a mouse. The KDE settings menu does not recognize the game
controller. Installing the steam-devices Debian package immediately
lets the controller get recognized, but no inputs are working. Most likely
some udev rules need to be added to properly read the controller inputs,
but I'll be patient and wait until the Debian maintainers address this.
Windows PC / Steam
The Steam Controller connects via the puck, which connects via the USB cable.
It is immediately recognized by Steam and just works. The middle button
("Steam button")
launches Steam in Big Picture mode, turning the experience into a
console-like experience.
Connecting via Bluetooth also works without problems.
Steamdeck
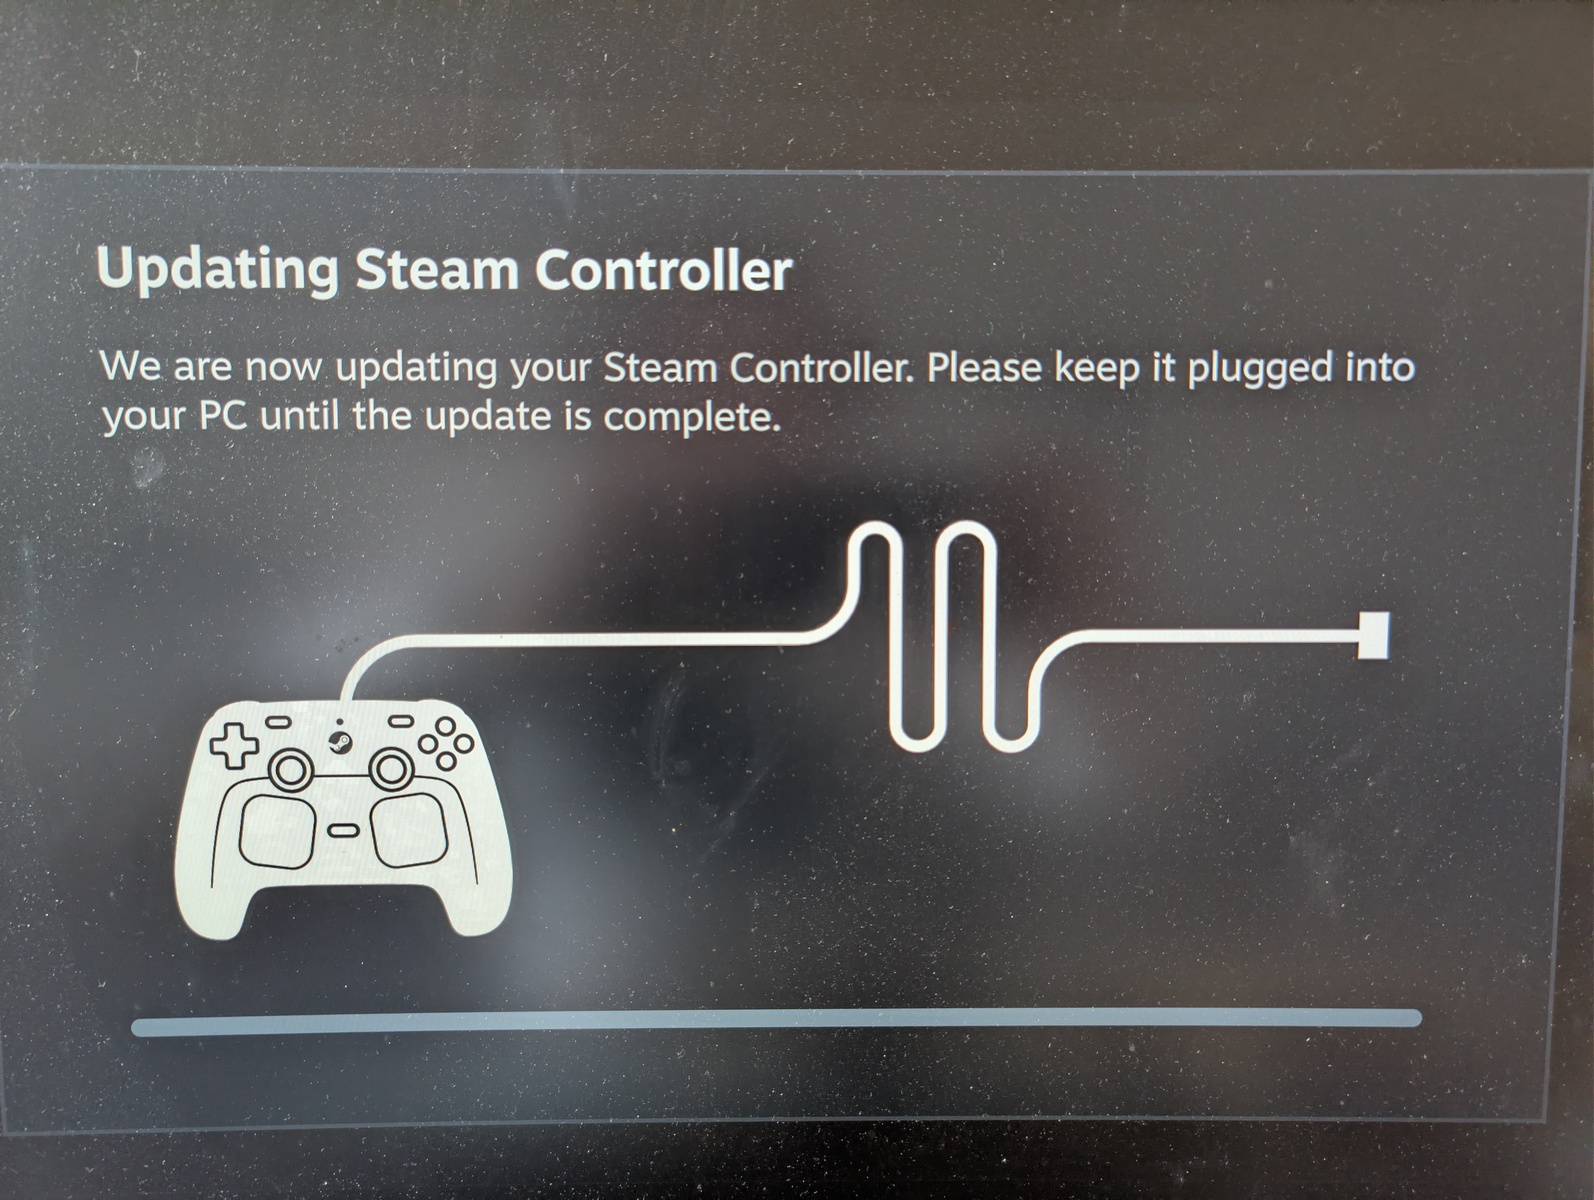
The Steam Controller connects via the puck, which connects via the USB cable.
It is immediately recognized by Steam and just works, but weirdly enough, it
wanted to do another firmware upgrade, twice. Otherwise, the components are
quite similar to the components used on the Steamdeck. Using the controller
in desktop mode as mouse replacement
also feels better than using the sameish trackpads on the Steamdeck itself. The
L5 button acts there as opener for the start menu, which
is a nice shortcut.
Games
While I'm leaning more towards keyboard+mouse , some games lend themselves towards
being played with a gamepad.
GTA Vice City
In my quick test, I played GTA Vice City, and using the right trackpad as mouse
worked passably. I think for a good experience, I will have to sift through the
Steam controller profiles to find one that replicates the keyboard+mouse setup
well enough.
Silksong
Playing Silksong with the controller also feels good. The controller feels
better than the Steamdeck, as the bottom finger buttons R/L 4 and R/L 5
lie closer to where my fingers expect them, and obviously the controller is
lighter than the Steamdeck. Playing with the Steamdeck detached
makes me realize that maybe having a dock for the Steamdeck would be interesting.