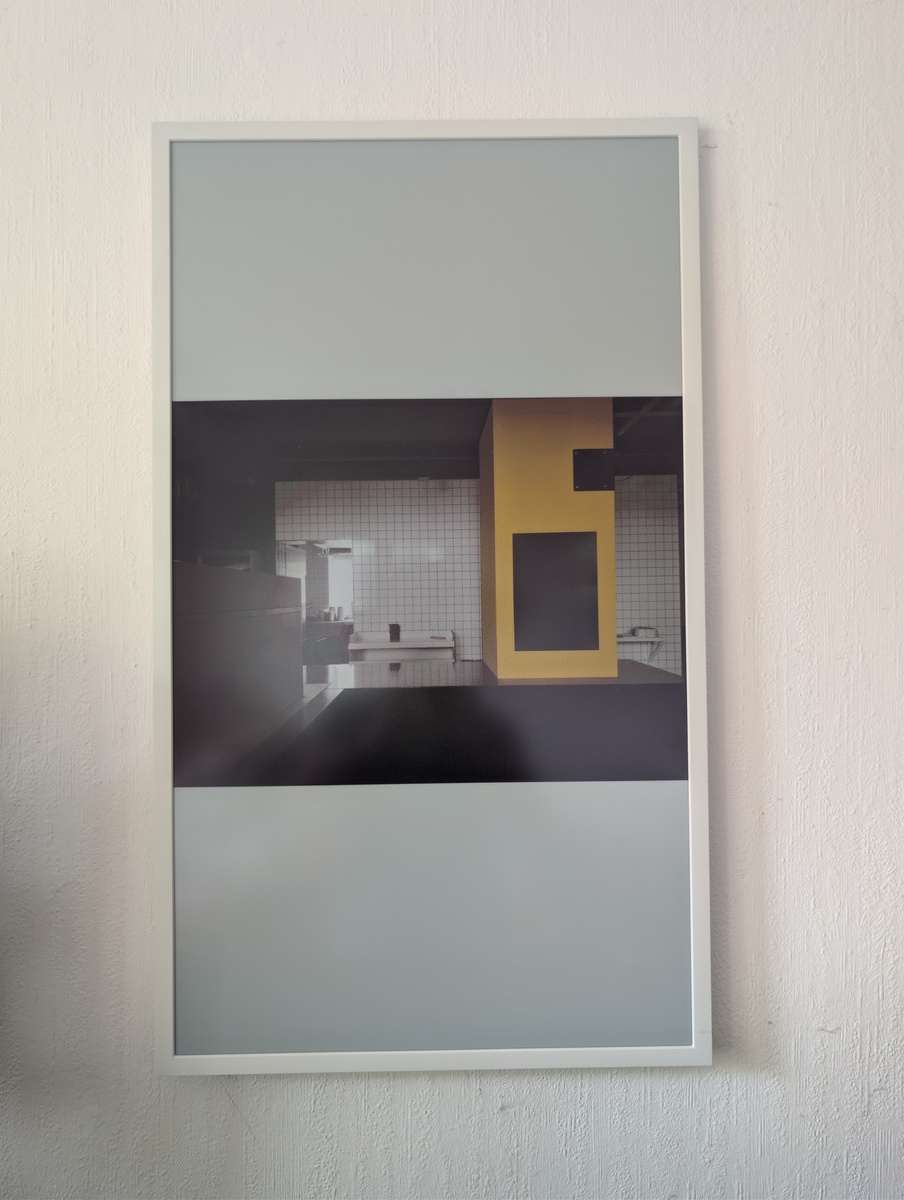
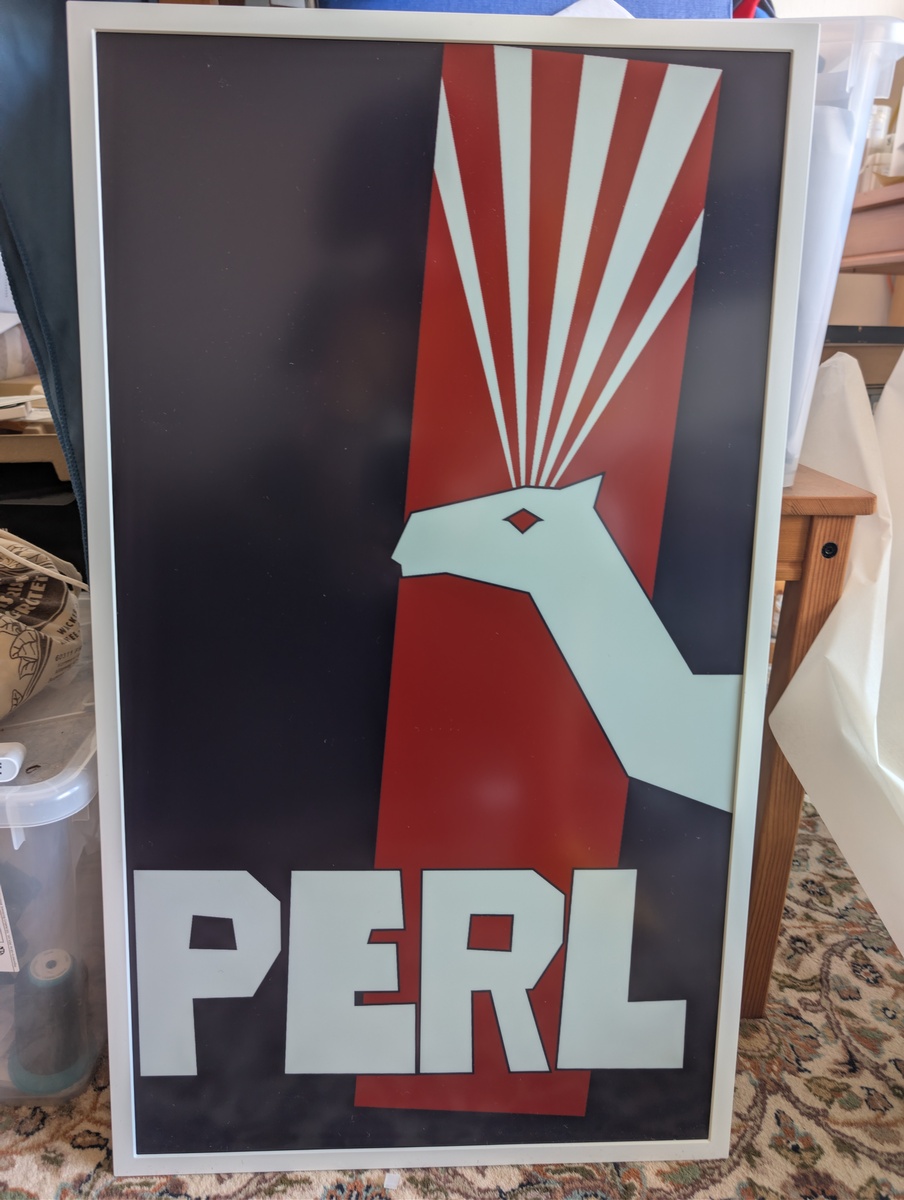
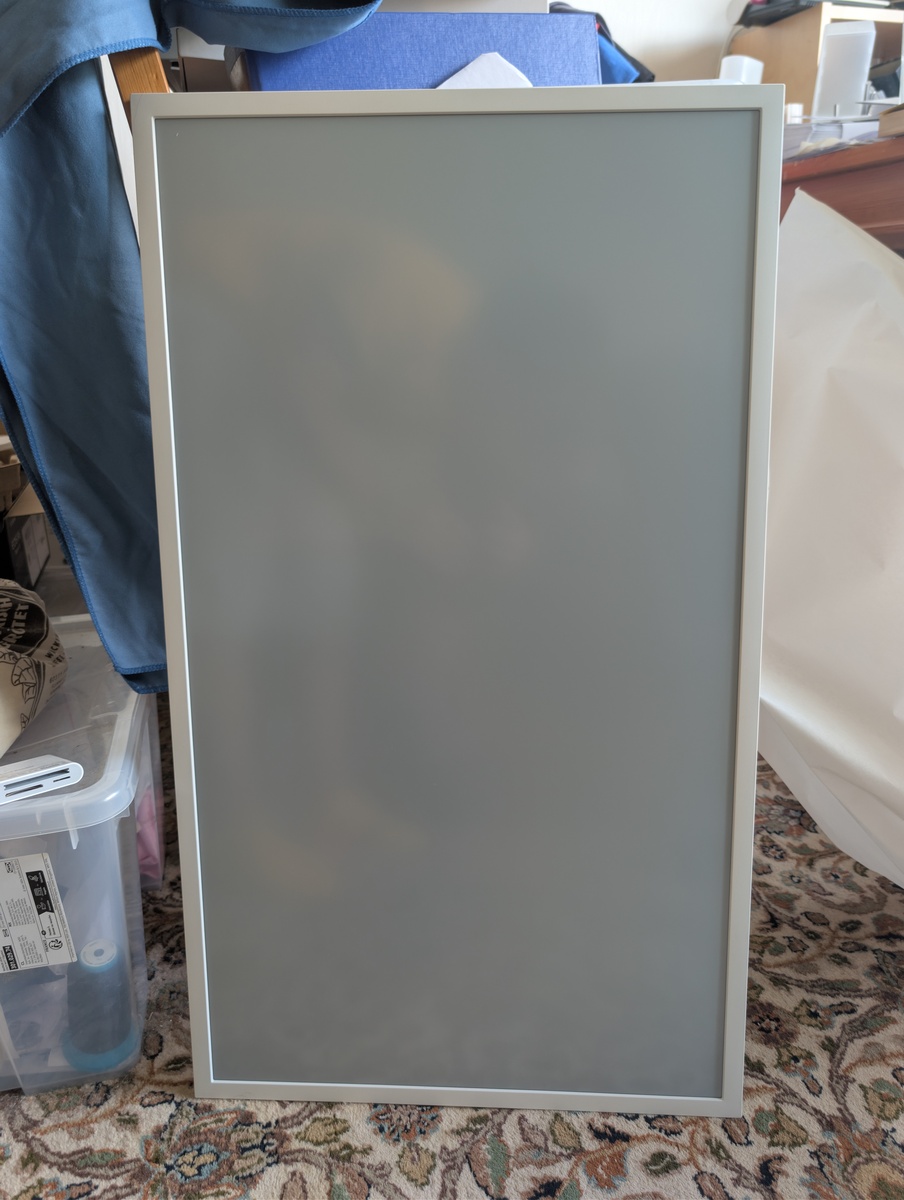
Now that I have a shell script to send images to my Eink display, I'm looking
at improving the experience. Mostly by porting the tools to Perl to better
integrate them with my other tools. But also, by making it more convenient to
find and select new images to display on the screen.
Shell script
I want to build a good collection of images to display on the Eink display.
As I often lose track of the filename of a very good looking image (
I'm already looking at it on the display and I like it, why should I bother with the filename?
), I've added logging to my interim shell script so that I have a log of files
to go through and re-evaluate.
I'm using JSONL as the log format, not because it is especially easy to create
from the shell, but it is highly convenient for later processing with other
tools.
#!/usr/bin/perl
use 5.020;
use JSON::Tiny 'encode_json';
use Getopt::Long (qw(:config pass_through permute)); # stop at the first unknown option or first argument
use POSIX 'strftime';

my $result = {};

my $name;

GetOptions(
    '<>' => sub( $v ) { if( ! $name ) { $name = $v =~ s/^--//r; } else { $result->{$name} = $v; undef $name }; },
);

$result->{ timestamp } //= strftime '%Y-%m-%dT%H:%M:%SZ', gmtime();

say encode_json( $result );
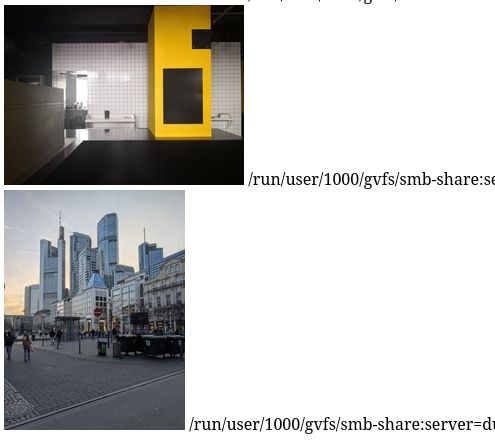
I've also added bas64-encoded thumbnail images to the log lines so that I can
easily display the logfile as an HTML page to better pick out good images or
images to discard.
Shell integration
After adding the appropriate file in ~/.local/share/applications/eink.desktop
I can send any image to the frame by using a right-click. This is highly
convenient and encourages me to quickly try out new images.
The Perl port of the sender script will likely use
request/response mechanism, easily adapted into Future / Future::Mojo
I need to port the mdc Javascript module and create a test suite to properly
encode the blobs.
MDC documentation PDF
While looking at the Javascript code, I found the official MDC documentation
version 15.0 PDF from 2020-11-06 . This describes the actual protocol
(serial, or over IP) in detail.
The command blocks are simple, consisting only of 8-bit bytes. This is a
problem for payloads (like URLs) that are longer than 230 bytes. But for my
use-case, that is no problem.
The inconvenient thing is that the length does not immediately precede the
payload, so that unpack does not work. Instead I've used a regular expression
to extract the parts.
The blobs are sent and received via port 1515. I have not found a way to
change this port, but I'm not sure why I would want that.
After surprisingly doing my taxes, I spent the money I might get back on a new
toy, a Samsung E-Paper EM32DX. It is an eInk display with an electrophoric
Spectra 6 display. These displays work without backlighting and can look like
a picture or photo frame. I've toyed around with using an LCD display, but
they don't match the room brightness. Having a large (32", 50cmx70cm ) frame
with a resolution of 2560x1440 pixels is good enough to view
from 1m-2m distance.
The device can work with a battery, so that I can hang it on a wall without
needing to run cables for the power supply.
I plan to use the display mostly as a picture frame to display a random photo
I've taken. Ideally, I can integrate the display into my home network, so that
I can quickly send any image from my desktop PC to the frame.
Power consumption of the frame is an issue. It has Bluetooth LE and Wifi
connectivity, but keeping it connected to the WLAN depletes the battery within
2 days. Depending on how far I get with reverse engineering the software, maybe
I can wake up the display via Bluetooth or have it wake up and connect on a
schedule.
The display from Samsungs digital signage division is intended as in-store
display for commercial use, but is feels somewhat flimsy with its all-plastic
design. On the other hand, it only weighs 2.5kg, which makes hanging it
fairly easy.
The device runs some version of Samsungs Tizen OS with a special player for
displaying images on the frame. The software to upload new images is either a
mobile app or Samsungs VXT signage solution, but some people already
have reverse engineered parts of the API. I don't plan on replacing the
built-in Tizen player application with something else.
The Plan
My plan for the next weeks is:
Investigate the software of the device
Investigate and exercise the functionality of the device without the app
Investigate and exercise the functionality of the device with the app
Set up a segregated IoT network
Reverse engineer the device + API
Wakeup via Bluetooth
Provisioning of WLAN connectivity
Automated display of new images
before initial setup
Connection information via QR code
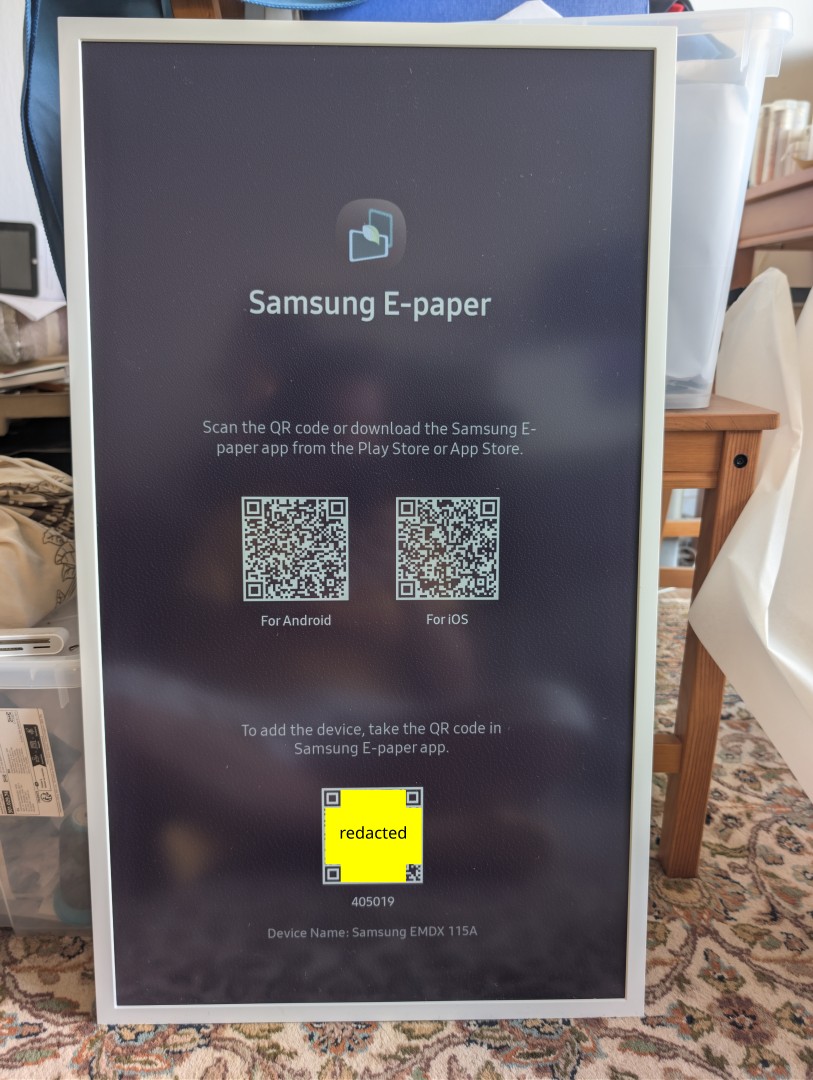
When powered on or reset, the device displays a QR code with the BT connection
information. This makes it convenient for the phone app and also allows
me to get the BT MAC for the device:
After several attempts from my desktop the device paired. This mirrors the
experience with my phone, where I also needed several attempts before the
device would successfully pair.
First functionality check with USB stick
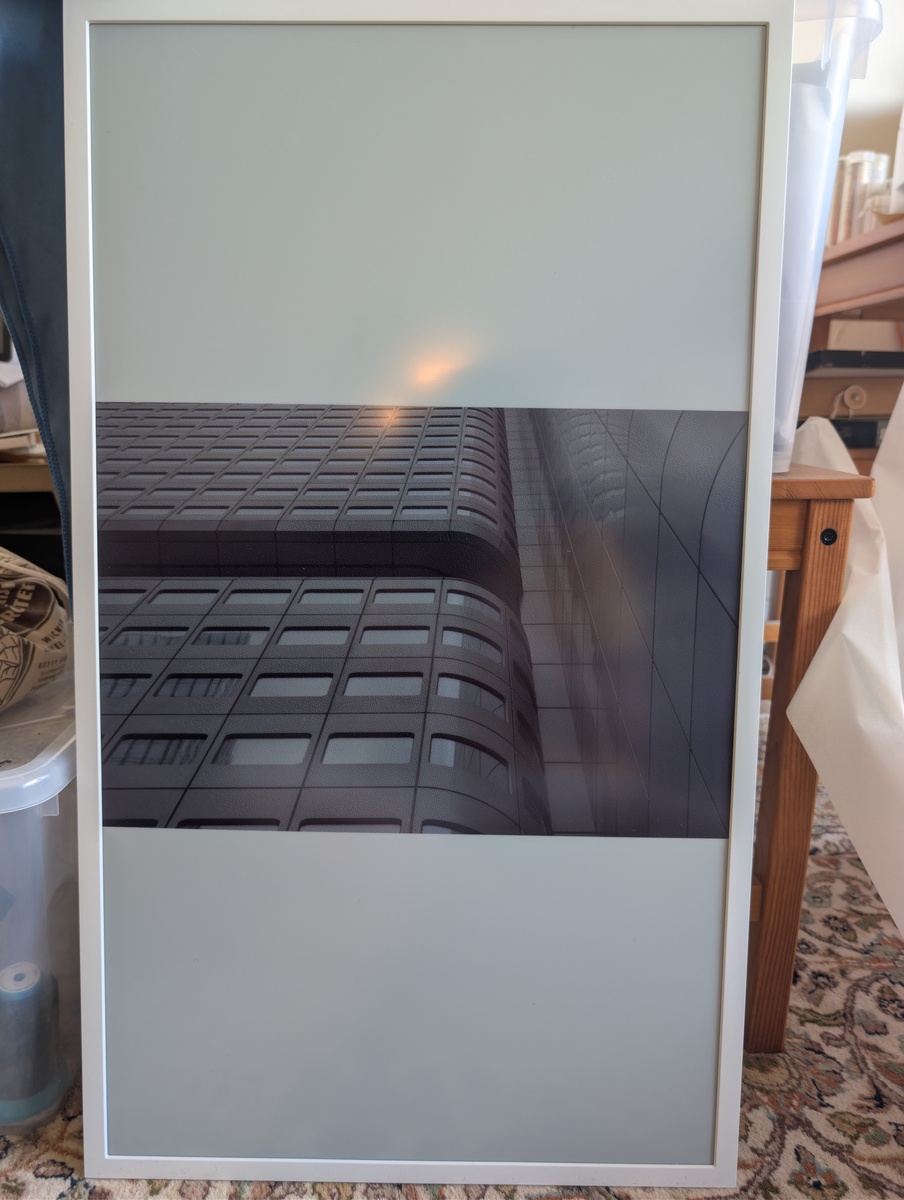
The display can show images from an USB stick, so that's what I used to show
the first set of images. The device dithers the image colours where they differ
from the 6 primary colours. This is fairly slow, with the transistion to a new
image starting roughly 20s after starting, and the display transition taking
another 30s of flashing.
Setup
Weirdly enough, the EM32DX does not seem to have a large-scale provisioning
mode mentioned in the manuals. All the instructions I've found rely on scanning
the QR code on the device with the Samsung E-Paper App.
After some searching, I found a PWA at
Samsung EDO, which generates preset
configurations for various EMDX devices. This also showed that if you put that
file into the preset/ folder below the SAMSUNG_E-Paper folder, the decice
will pick up the settings from that XML file and self-configure.
<?xml version="1.0" encoding="UTF-8"?>
<!-- Version: 1.0.6  Built with the Samsung ePaper USB Preset Tool (https://preset.samsungedo.com).
     Delete a whole <ConfigItem> block to skip an optional setting; never leave a value blank. -->
<ConfigurationPreset>
  <!-- Wi-Fi the device joins. EAP=false for a normal password (WPA2-PSK) network; the EAP field is required on FW 1120 even for PSK. -->
  <ConfigItem type="NetworkSetting" category="mandatory">
    <Parameter name="NetworkType" value="Wireless"/>
    <Parameter name="SSID" value="Name-of-SSID"/>
    <Parameter name="Password" value="password"/>
    <Parameter name="EAP" value="false"/>
    <Parameter name="ID" value=""/>
    <Parameter name="AnonymousID" value=""/>
    <Parameter name="EAPType" value="PEAP"/>
    <Parameter name="PHASE2Type" value="None"/>
    <Parameter name="CA_Cert" value=""/>
    <Parameter name="Client_Cert" value=""/>
    <Parameter name="DHCP" value="true"/>
  </ConfigItem>
First setup, with the app
Network uses WPA3+WPA2, which the device does speak, but the Samsung
App gets confused and cannot connect to the device via WLAN that way. Using
the mobile hotspot of my phone still allows me to connect the device to the
app and test out the functionality beyond the USB stick with the app.
Use through the app
The app can configure the device completely and also send new images from the
photo storage. Connectivity via WLAN is necessary for the data transport.
Basically, I think I can now send fresh image data to the device whenever
I feel like it.
Colour fidelity
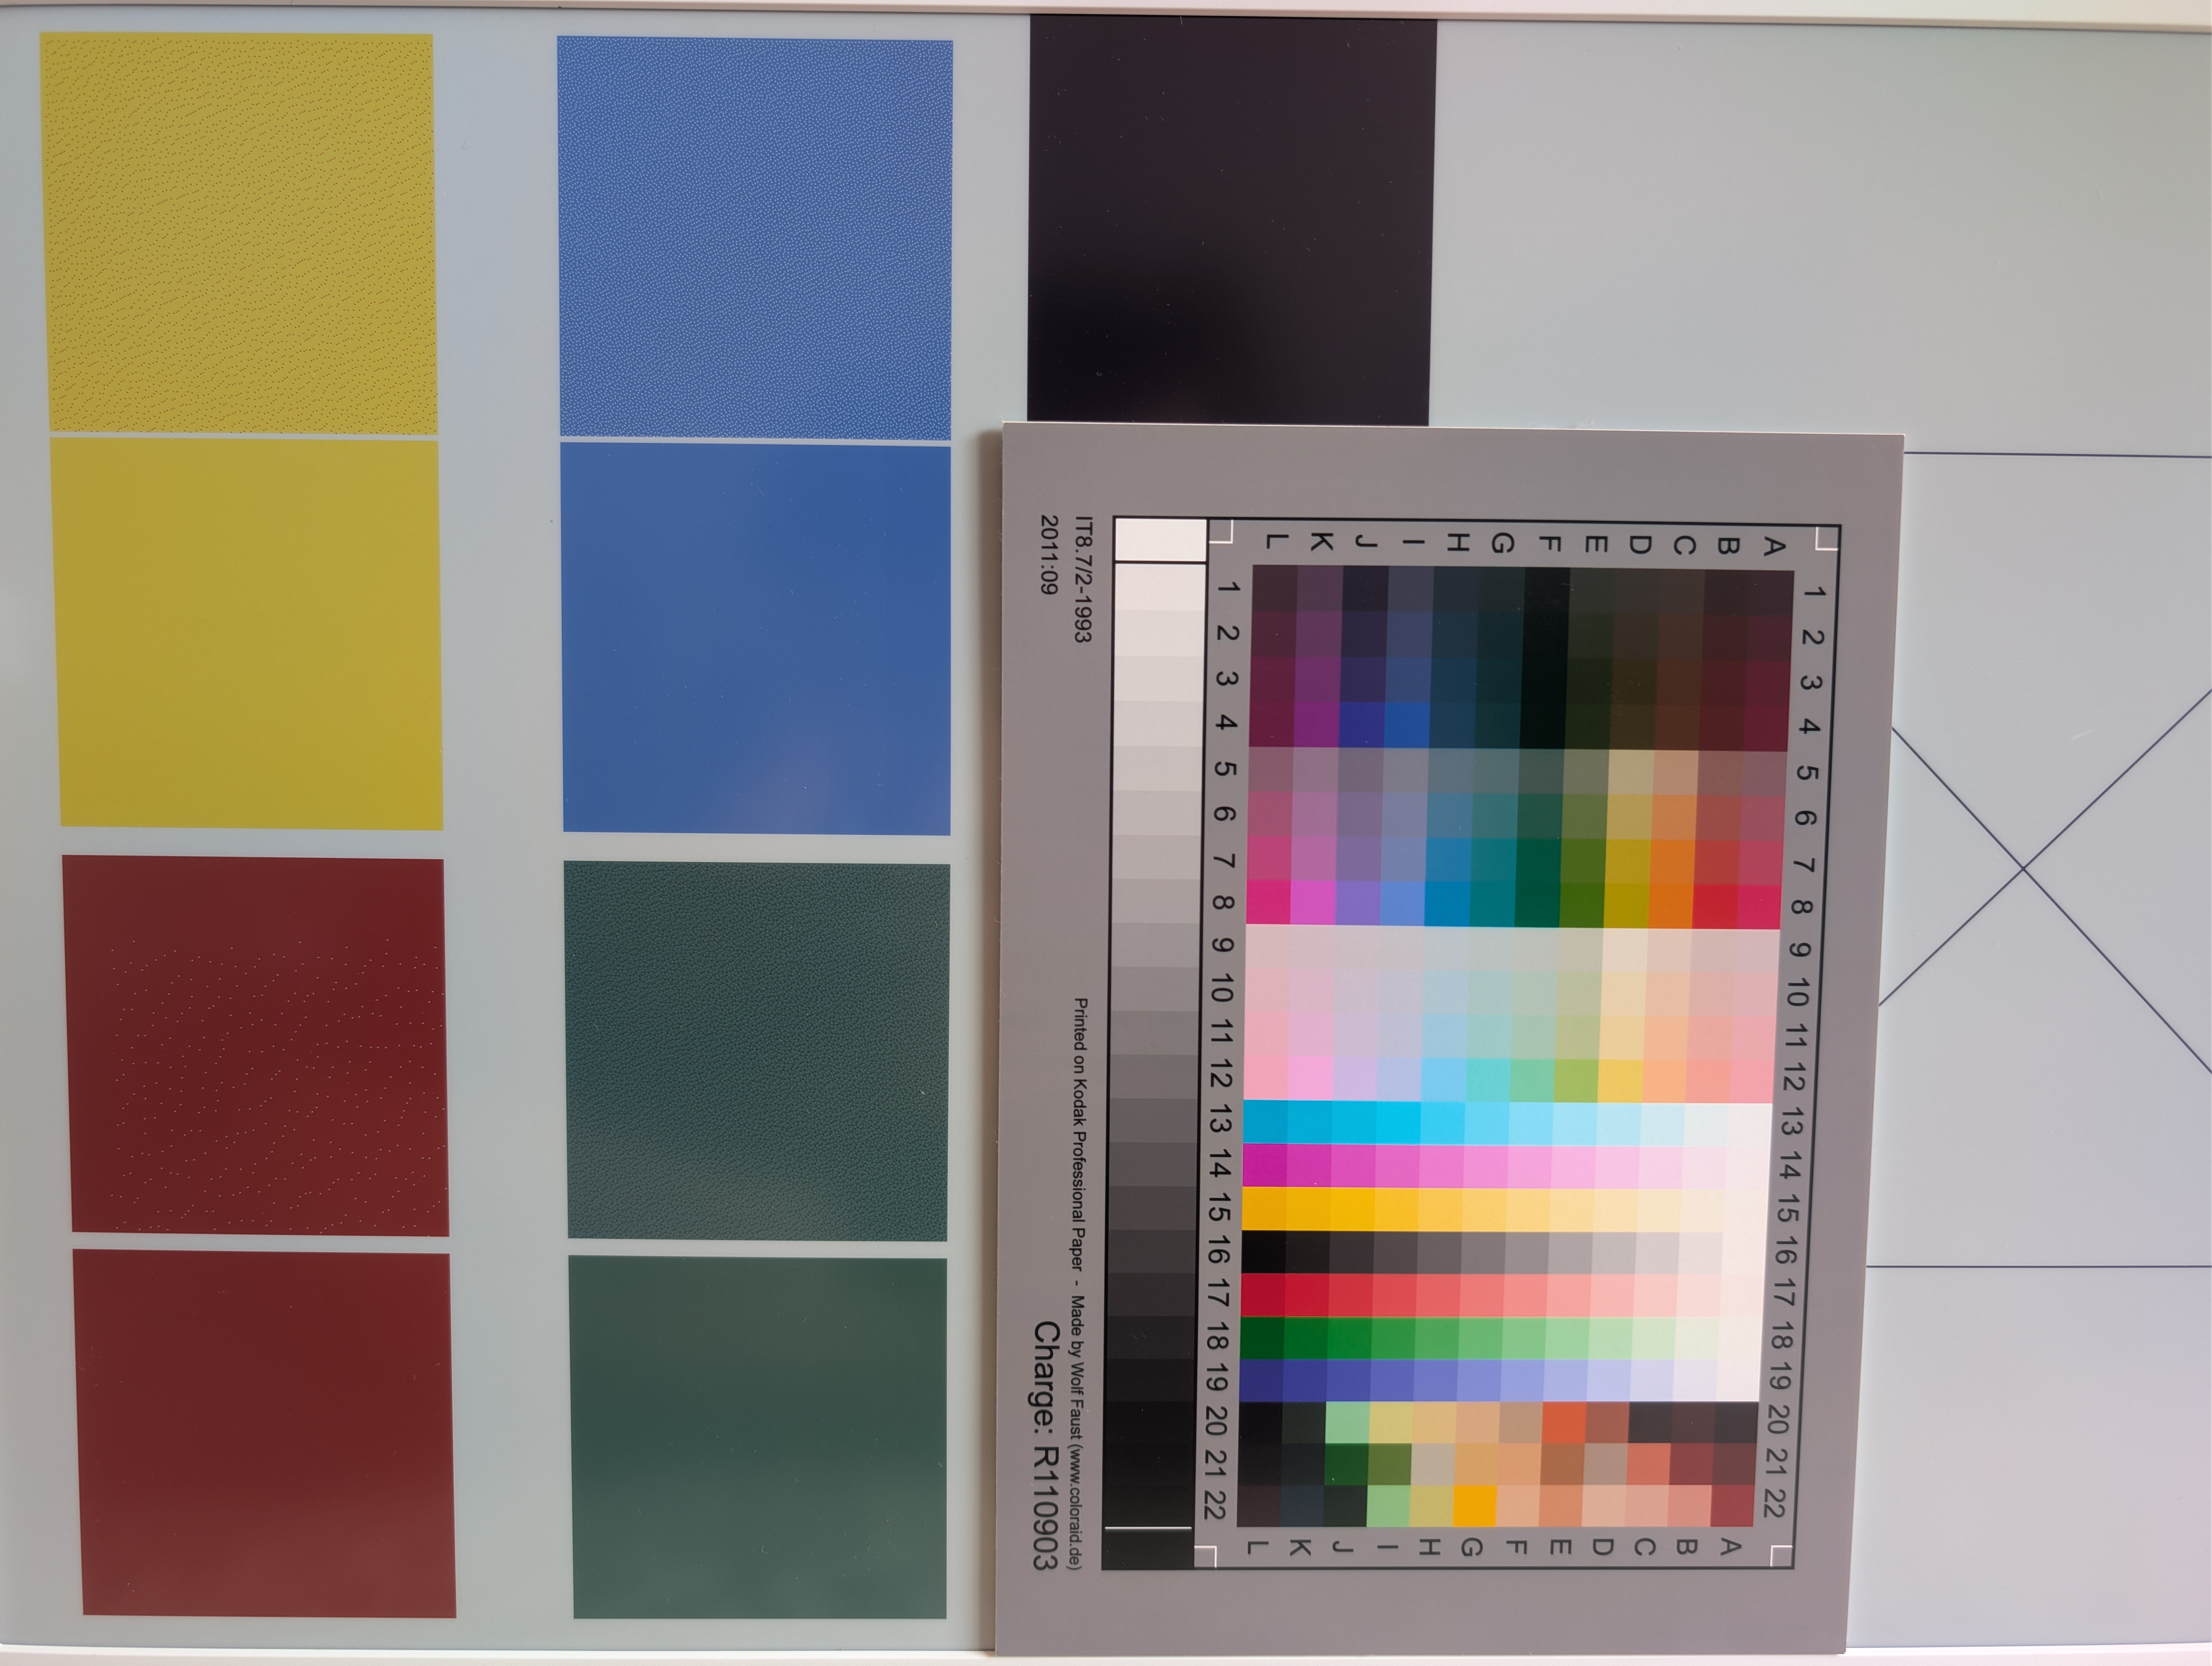
The display has 6 primary colour pigments, red, green, blue, yellow, black
and white. Other colours are created on-device by dithering the image. The
colours don't really match up with my desktop monitor, they are somewhat darker
even accounting for the luminescence of the display. Especially green seems
far darker than its RGB counterpart.
Pigment colours, matched by eye:
Colour comparison with reference card:
(image taken with Google Camera on Pixel 9 Pro XL under indirect daylight)
With some googling, I came up with two Imagemagick commands to first dither
an image to the colours of the pigments, and then to convert the pixels to
the RGB pixels that the on-device software expects.
Imagemagick command line to Colour-concert and pre-dither images:
Maybe some yaml to create palette profiles, to make tweaking easier?! On the
other hand, simply using Imagemagick works well enough.
Crack up BT setup. The configuration and setup via USB stick works well
enough, but I'd like to also set up the device using Bluetooth
programmatically.
Set up segregated IoT WLAN to keep random devices off my main network. Just
so that the random devices don't get onto my main network.